Provisioning a tenant runs a single workflow that takes a request from the control plane console and ends with a healthy, traffic-ready tenant at its own subdomain. This guide walks the request through so you know what each phase does and which events show up in the audit feed.
- The Owner or Admin role in your organisation
- A free tenant slug — the platform derives the tenant's resource names from this, so slugs in use by an active or suspended tenant are rejected
What you provide
Section titled “What you provide”Three things travel with the request: a tenant slug, the organisation that owns the tenant, and a plan tier. Everything else is derived deterministically from the slug, so the same input always produces the same tenant identity.
The tenant name field accepts most text, but it must start with a lowercase letter and stick to lowercase words separated by dashes (so production, production-eu, customer-uat). Names that start with an uppercase letter (like Production) currently pass the form's surface validation but get rejected deeper in the saga — the platform marks the tenant Active, but the welcome email never reaches the first admin and the tenant admin console can't sign anyone in. Until the form's check matches the platform's check, pick a lowercase-first name and you'll be fine. The slug already follows the same rule.
What the workflow does
Section titled “What the workflow does”Each phase is idempotent: if the platform retries after a transient failure, the phases that already completed are skipped. The audit feed shows progress in real time. The high-level phases:
- Validate the request. The slug is checked for collisions, the plan exists, the caller's role admits provisioning.
- Allocate the tenant's resources. Storage, identity, and the tenant's traffic boundary are stood up in its name.
- Deploy the tenant's workloads. The platform launches the tenant's services and waits for their readiness checks to clear.
- Mark the tenant active. State flips to
active; traffic tohttps://<slug>-<org>.<domain>starts succeeding. - Send the welcome emails. A best-effort three-email sequence reaches the first admin (welcome, console URL, onboarding).
If the platform gets stuck on a particular phase, the audit feed names the failing step and the next stable state. See Recover a stuck provisioning saga.
A curl request from the CLI
Section titled “A curl request from the CLI”The control plane console UI fires this same request. The platform CLI offers an explicit alternative:
# Using the intelliauth-cliintelliauth platform tenants create \ --org cymmetri \ --slug banking \ --plan growth \ --first-admin admin@cymmetri.com// Using the @intelliauth/control-plane-sdkimport { ControlPlaneClient } from '@intelliauth/control-plane-sdk'
const cp = new ControlPlaneClient({ baseUrl: 'https://manage.intelliauth.com' })
const tenant = await cp.tenants.create({ org: 'cymmetri', slug: 'banking', plan: 'growth', firstAdmin: 'admin@cymmetri.com',})console.log('Tenant id:', tenant.id)POST /api/v1/organizations/{org_id}/tenants HTTP/1.1Host: manage.intelliauth.comAuthorization: Bearer <platform-operator-token>Content-Type: application/json
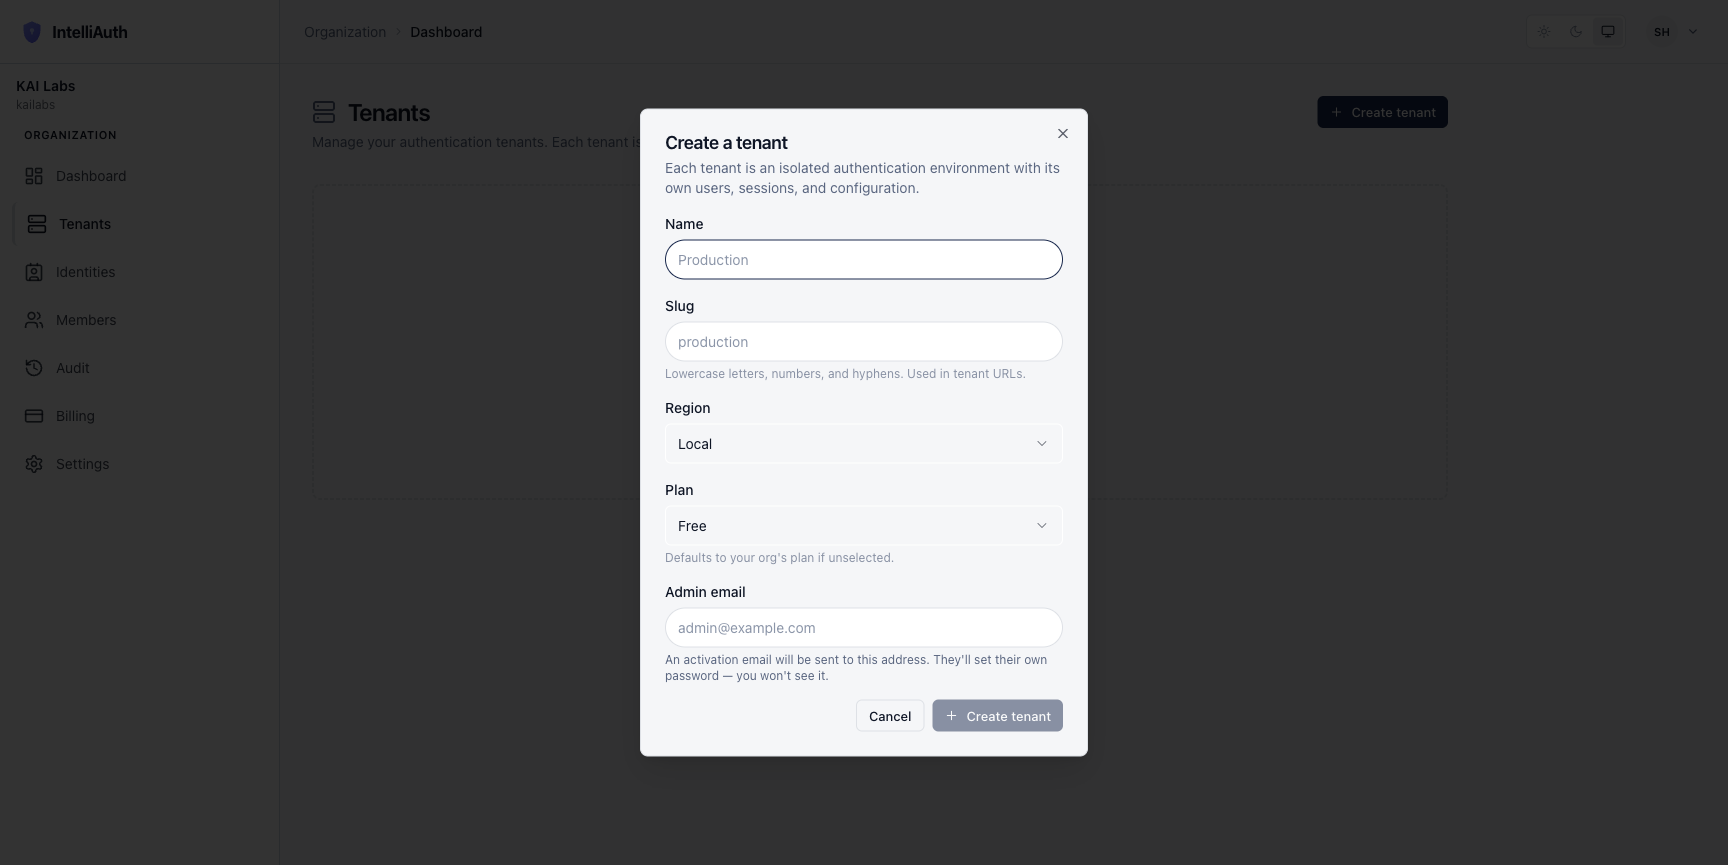
{ "slug": "banking", "plan": "growth", "first_admin_email": "admin@cymmetri.com"}The console flow is a single dialog with five fields. The empty form:
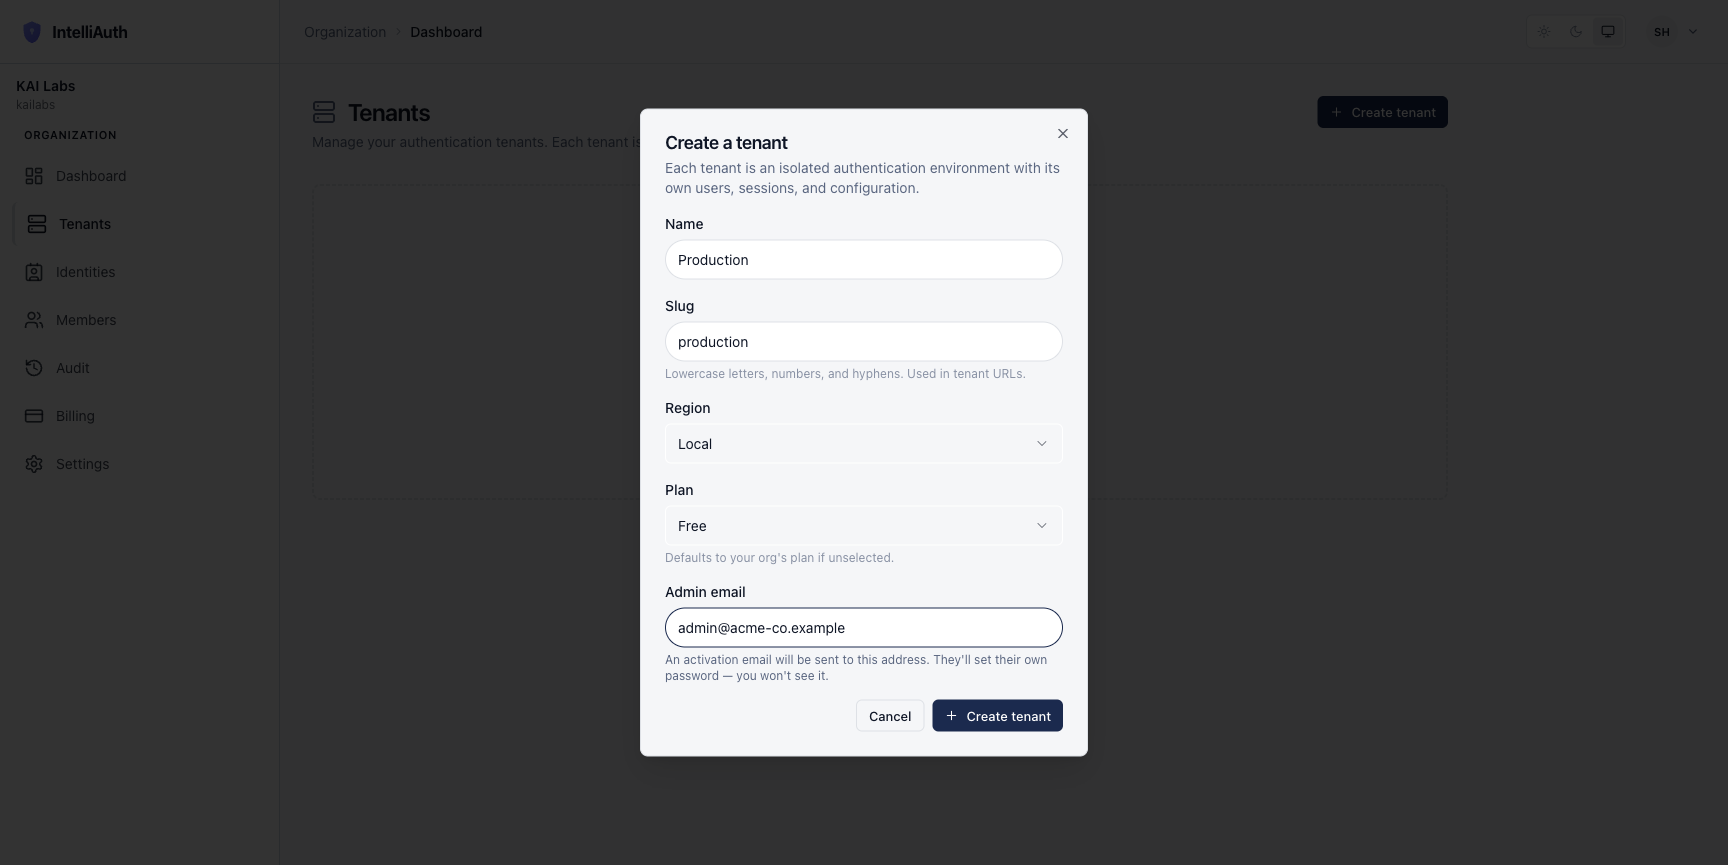
Filled in for a "Production" tenant:
When the saga fails
Section titled “When the saga fails”If a phase fails after retries, the workflow transitions the tenant to failed and rolls back the work it has done so far — releasing every resource it allocated. The tenant stays in failed state with its audit history intact; retry provisioning from the console, or decommission to clear the slot.
What you can do next
Section titled “What you can do next”After provisioning, the tenant admin signs in at the tenant's subdomain (https://<slug>-<org>.<domain>) and starts configuring applications, users, and MFA. From the control plane you can still observe the tenant's health, suspend/resume it, or decommission it when the customer leaves.