Inviting a member sends an email to the address you provide. They click the link, set their own password, and land in your organisation's console. The whole flow is two clicks for you.
Open the invite dialog
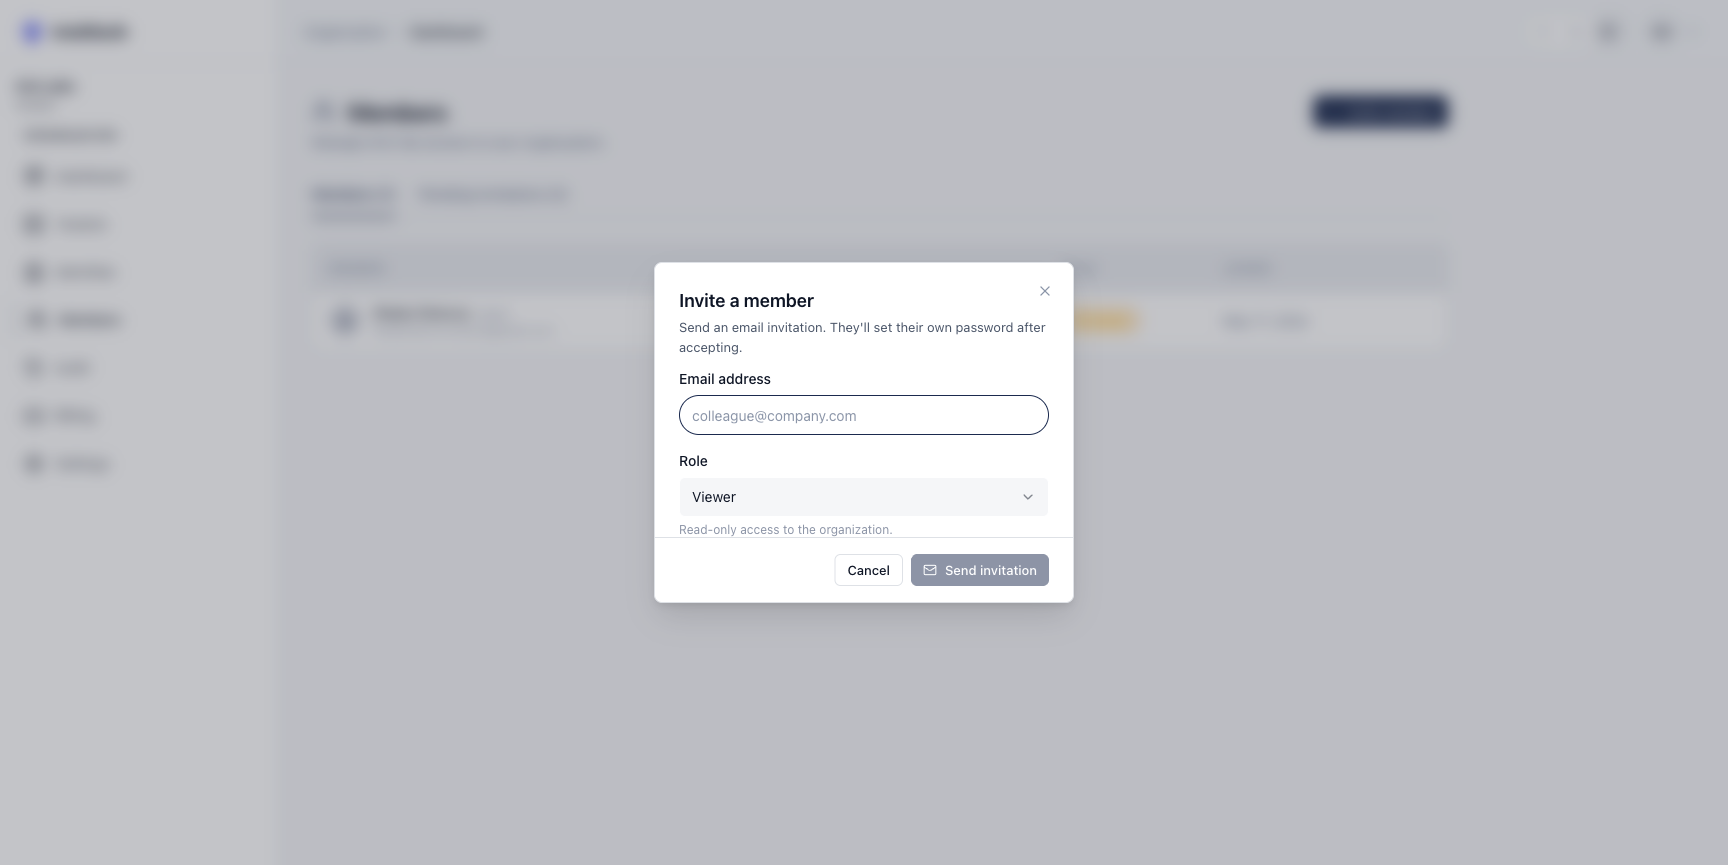
Section titled “Open the invite dialog”From the Members page, click Invite member at the top right. A small dialog opens with two fields: email address and role.
Pick a role
Section titled “Pick a role”The role dropdown carries two options:
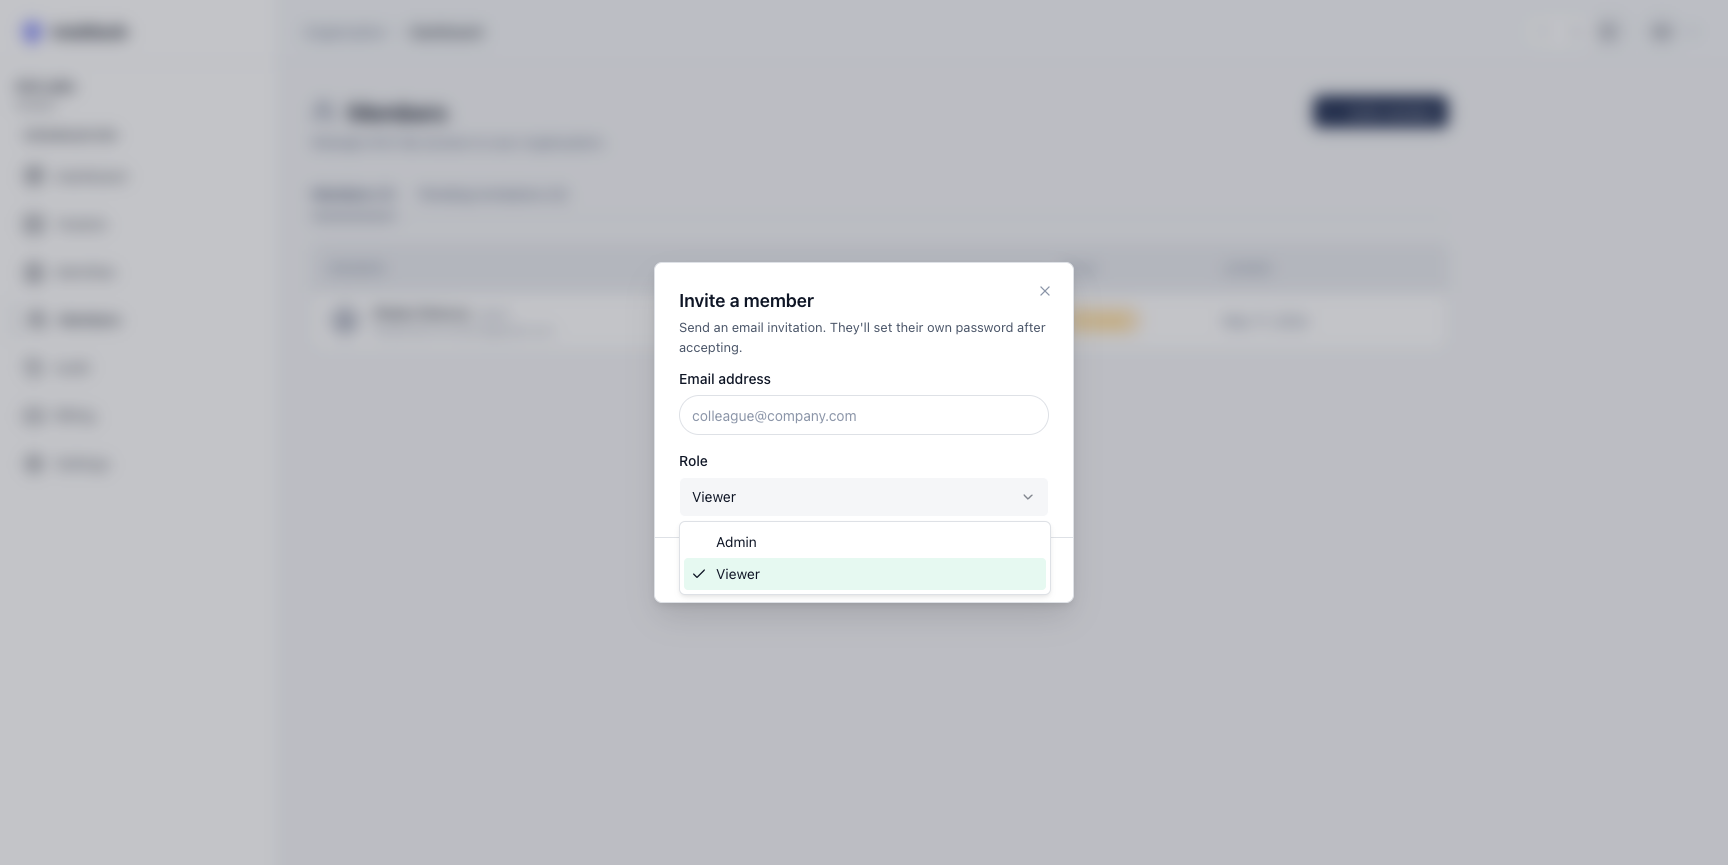
- Admin — full operational access. Can create and manage tenants, members (except the owner), audit, settings.
- Viewer — read-only access. Useful for stakeholders who want visibility into provisioning and usage but shouldn't be able to change anything.
Owner role is not assignable from this dialog — there's only one owner per organisation, set automatically at signup. Transferring ownership is a separate, deliberate flow.
Send the invitation
Section titled “Send the invitation”Click Send invitation. The dialog closes; a Pending invitation row appears in the Members page under the Pending invitations tab. From there you can resend or revoke the invite before the recipient accepts.
The invitee receives an email with a "Join <Org name>" link. Clicking it routes them through a quick account-setup flow (email confirmed, password set) and lands them in your organisation's console with the role you chose.
What the invitee experiences
Section titled “What the invitee experiences”- Email lands with subject line "You've been invited to join <Org name> on IntelliAuth".
- They click the join link, get routed to
/register/accept-invitation?token=.... - They set a password (or, if they already have an IntelliAuth account, sign in instead — invitations match by email).
- They land on your control plane dashboard with the role you assigned.
The invitation token is single-use and time-limited. If it expires, resend from the Pending invitations tab.