The Identities page is the bird's-eye view of every end-user across every active tenant in your organisation. It's the answer to "who in our customer base has an account?" — searchable, paginated, and read-only at this level. To edit a user, you switch into that user's tenant admin console.
Identities = the end-users authenticating into your applications (across all your tenants). Members (a different page) = humans operating the organisation alongside you. Keep the two pages straight: Members is about who can do CP-admin work; Identities is about who's authenticating across your tenants.
The list
Section titled “The list”Each row shows the user's email, the tenant they belong to, and when they were created. A search box at the top lets you find users by email substring.
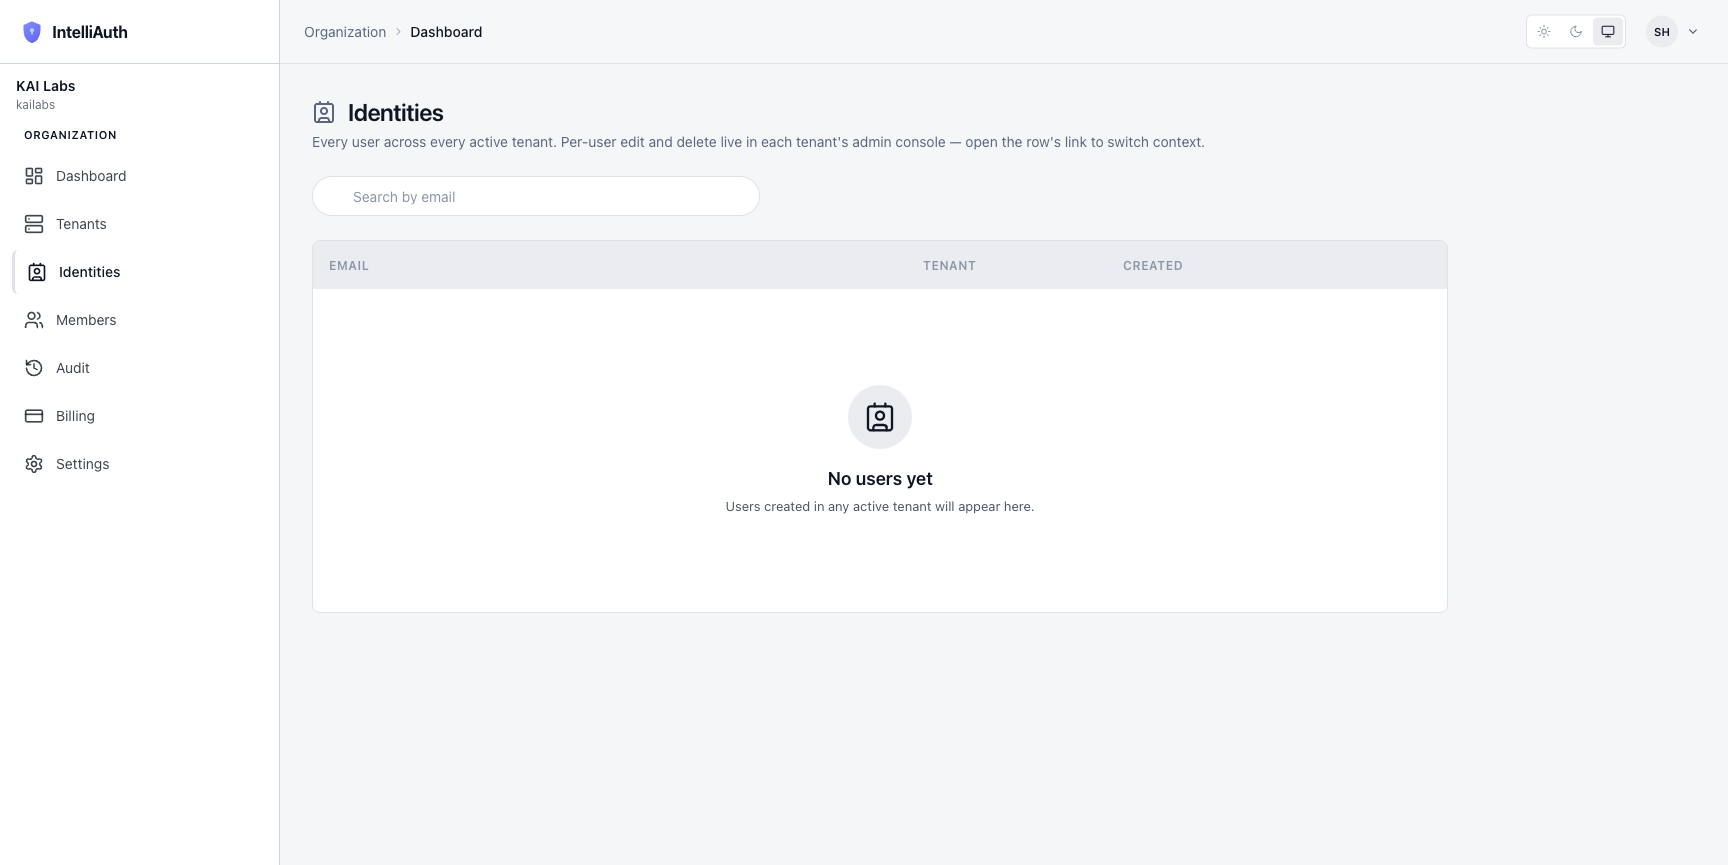
On a freshly-created organisation with no tenants yet, the table is empty. As soon as you provision a tenant and its admin starts creating users, they show up here.
Why this view exists
Section titled “Why this view exists”Two reasons:
- Cross-tenant search. When a support request comes in but you don't know which tenant the user belongs to, search by email here and the row tells you. From there you click into that tenant's own admin console to take action.
- Headcount visibility. Total user count across the org is one of the KPIs surfaced on the dashboard; this page is where the number is sourced.
What you can do here
Section titled “What you can do here”- Search by email — substring match across all active tenants.
- Click through to a user's tenant — each row links to the user's record inside their tenant admin console, where edit, suspend, MFA-reset, and delete actions live.
What you can't do here:
- Edit a user. Per-user changes live inside the tenant's own admin console (this view is read-only by design).
- See decommissioned tenants' users. Decommissioning a tenant removes its users from this aggregate, though the audit log retains them.