Signing up gives you an IntelliAuth organisation — the top-level account for your company. From the org you'll provision tenants (one per business unit, product line, or environment), invite team members to help run the platform, and configure org-wide policy. The signup form is three steps and takes about a minute.
The wizard says "free trial — no credit card required" and means it. You can create an organisation, provision a real tenant, and walk authentication end-to-end without billing involvement.
Step 1 — Account
Section titled “Step 1 — Account”The first step asks for your work email and a password. The "Full name" field is optional. Email uniqueness is checked as you type, so you'll see an "Available" indicator before you commit.
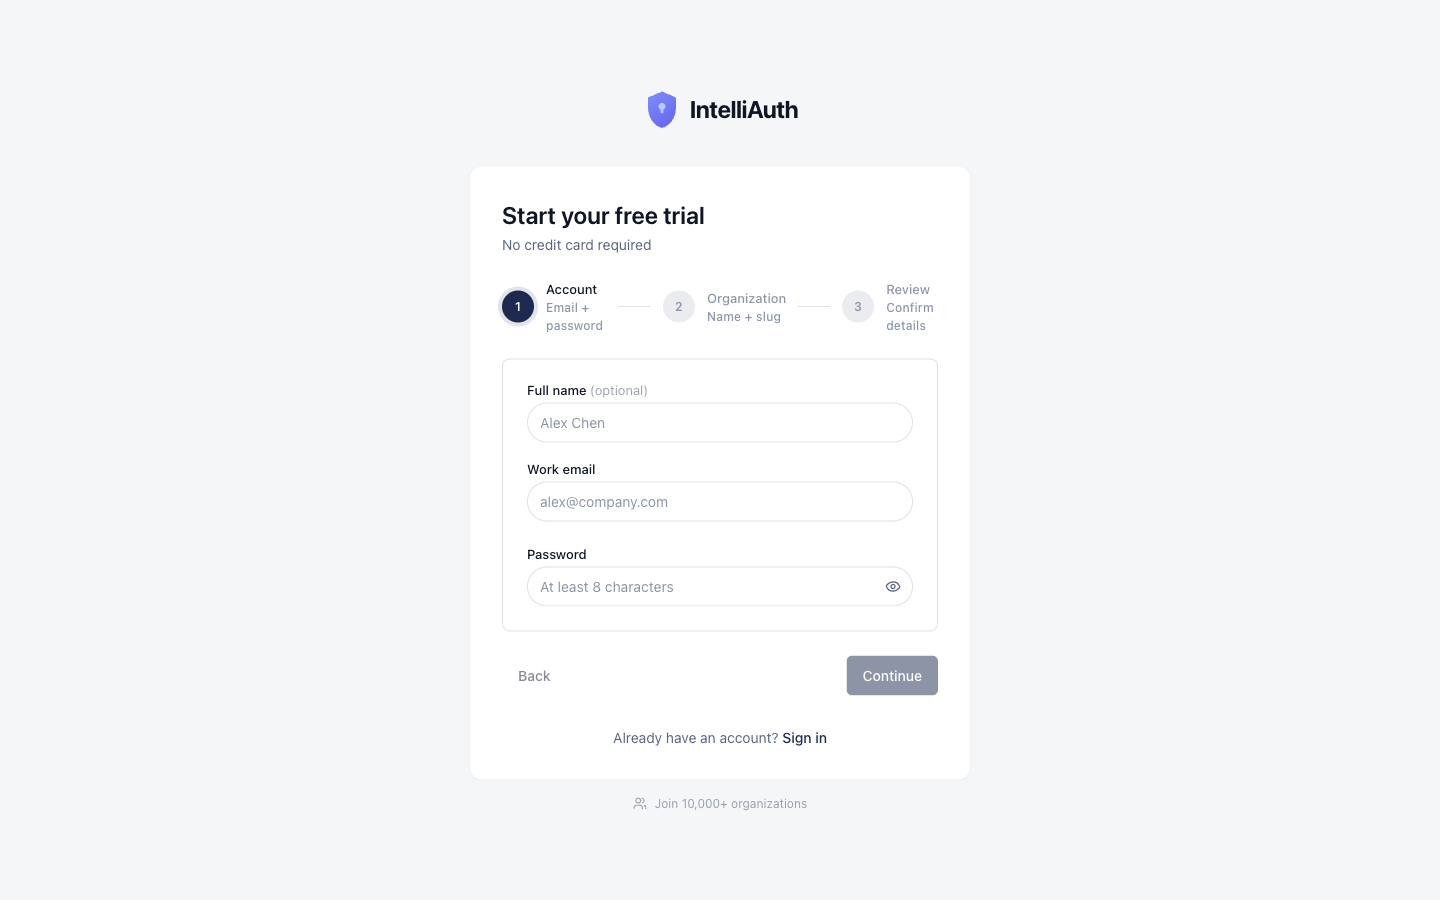
The password strength meter is honest about what's missing. Green ticks appear next to each rule as you meet it; Continue stays disabled until all five are green.
Step 2 — Organisation
Section titled “Step 2 — Organisation”The organisation has three durable identifiers: its display name, its slug, and a plan tier.
- Organisation name is the friendly label that shows up in invites, audit logs, and emails to your team. You can rename it later.
- Organisation slug is the subdomain piece used for tenant URLs. The slug
cymmetriproduces tenant URLs like<tenant>-cymmetri.intelliauth.local(sobanking-cymmetri.intelliauth.local,health-cymmetri.intelliauth.local, etc.). Your control plane stays atmanage.intelliauth.localregardless of slug. The slug is immutable after signup — pick something short and meaningful. - Company size and primary use case help tune the trial experience. Pick honestly; they don't constrain what you can do.
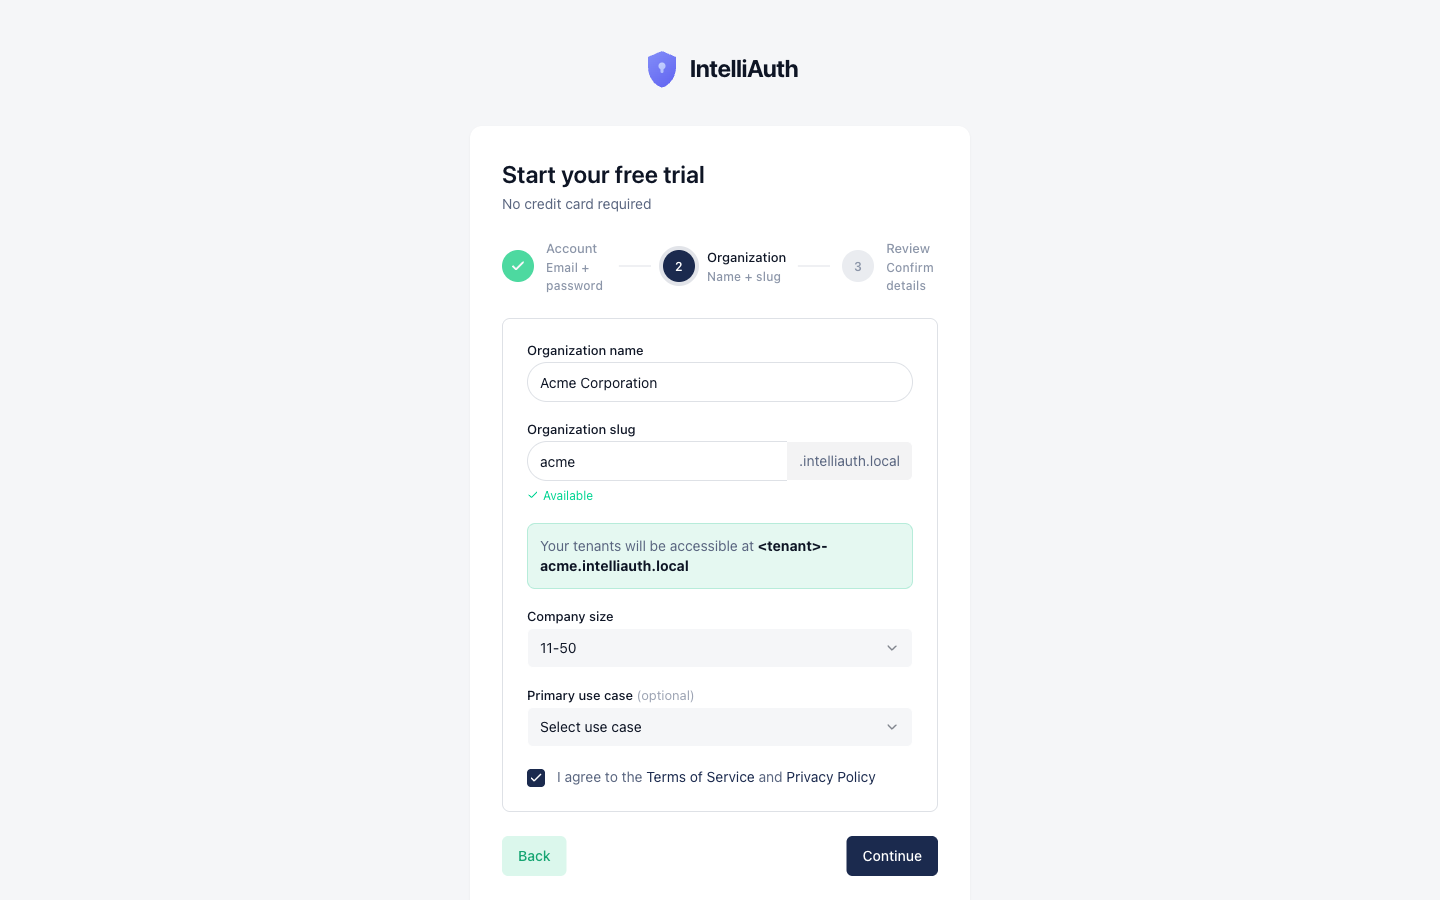
Two visual cues to look for here:
- The "Available" badge next to the slug appears once the uniqueness check clears. If a slug is taken, you'll see a red "Already in use" instead.
- The helper line under the slug field — "Your tenants will be accessible at
<tenant>-cymmetri.intelliauth.local" — shows the URL pattern your sub-environments will inherit. Useful for sanity-checking before you commit to a slug.
The Terms of Service and Privacy Policy checkbox needs to be checked before Continue enables.
Step 3 — Review
Section titled “Step 3 — Review”The third step is a summary. Two cards show what you entered in steps 1 and 2; each has an Edit button if you want to go back without losing the rest. Below them, a "What happens next" block walks through what'll happen when you click Create:
- Your organisation is created instantly.
- You can immediately create tenants and invite team members.
- You're free to configure authentication flows and go live.
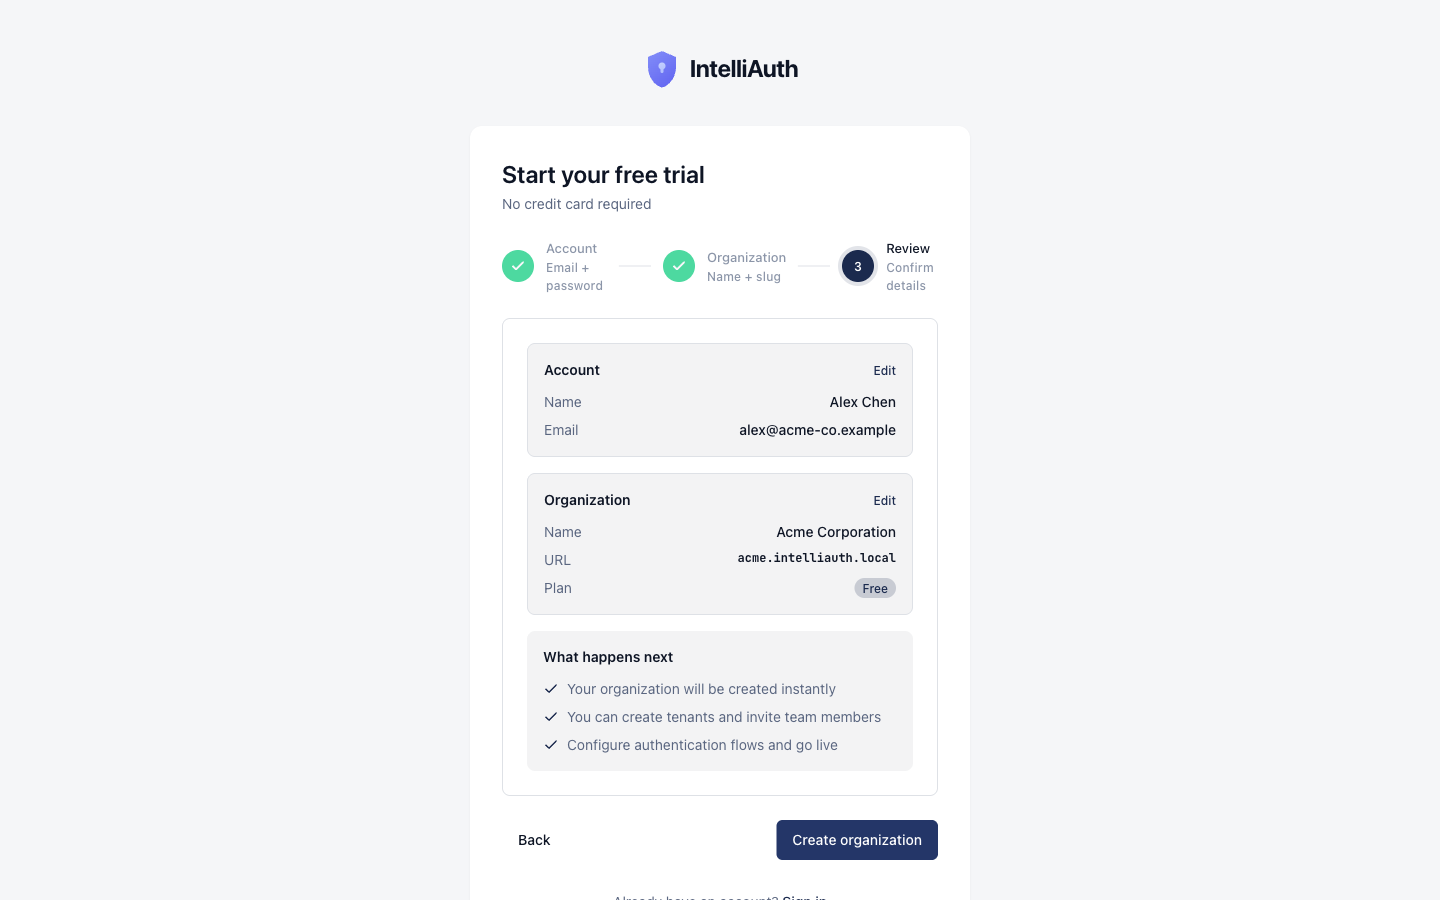
Clicking Create organisation sends a verification email and routes you to step 4.
Step 4 — Verify your email
Section titled “Step 4 — Verify your email”The wizard ends on a confirmation page that says "Check your email." A verification link has been sent to the address you signed up with — clicking it activates your account and signs you in for the first time.
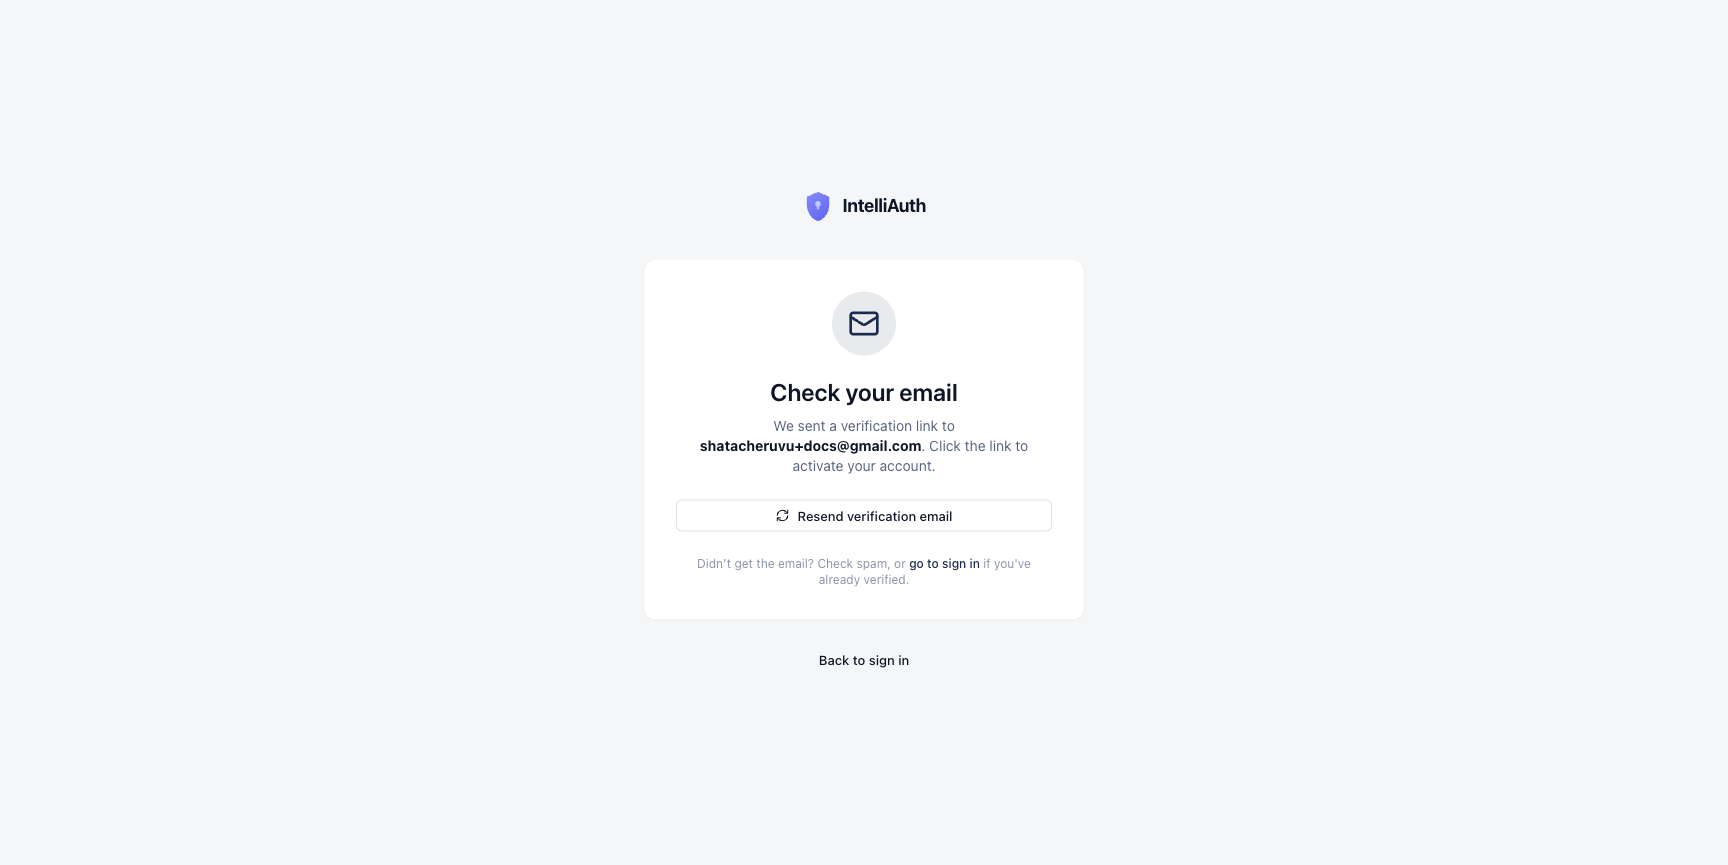
In local development clusters, an allowlist controls which addresses can actually receive verification emails (an environment variable called INTELLIAUTH_MAIL_DEV_ALLOWLIST). If your address isn't on it, the send is silently dropped and you'll never receive the link — even though the page tells you it was sent. If you're stuck here in a dev environment, ask your platform operator to widen the allowlist (set it to * for dev, then restart the platform service) and resend, or fall back to verifying the address another way. Production environments don't carry this guard.
Once you click the link, you're signed in and routed to your control plane dashboard for the first time.
What happens after
Section titled “What happens after”Your organisation is provisioned and ready. You land at the dashboard with three things waiting to be done:
- Provision your first tenant. Tenants are your isolated sub-environments — one per business unit, product line, or environment (staging vs prod). See Provision a new tenant.
- Invite team members. Anyone helping you operate the platform — engineers, ops, customer success.
- Explore the dashboard. Audit logs, plans, settings — these get their own topics in the CP-admin sidebar.